As I don't have Maya on my own laptop (as it has too old an operating system to even get the oldest version Autodesk has on offer), I was able to stay at Chris' house over the weekend to use his computer. Which was also helpful as he was able to help me if I got really stuck on something.
My first task was to finish the carrot model, which was just a case of colouring a few extra faces a little darker like my toy (at this point I had missed the UV mapping session so didn't know how to colour any of my models other than the hypershade tool), and add some eyes, which were again just duplicated from my other models and resized and rotated to fit.
Now I had modeled the characters, it was just a simple case of modelling the background, and as it was a dance studio it needed to be quite spacious but not enough to indicate a grand competition. All that was needed was the flooring for the studio, which I tried to use the checkerboard shading for but it looked weirdly pixelated and not what I wanted at all. At this point I didn't understand UV mapping as I had missed the session on it, so decided to colour each face the colour I wanted instead.
After this I added simple white walls along the three sides which would be seen by the camera, and then created a simple desk and glasses to place in front of the judges. With all the set done, I am now able to start animating.
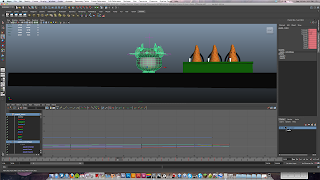
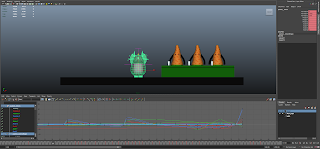
Next was to animate, and the first thing I did was learn a few short cuts that would make my life a little easier. The first was in the graph view, and was the easing tool (as shown by the first picture), which allows you to smoothen the movements. The second thing I learnt was how to hide objects when they are grouped into layers. This also allows you to lock those objects if you still wish for them to be in view. By doing both of these things it allows me to focus on animating and not accidentally select and object I didn't wish to and start animating the wrong thing!
When animating the pirouette section of Totoro's dance, I had difficulty of getting the arm to rotate up without it going into his body, so I had to slightly rotate it outwards at the same time.
Above you can see a couple of images of me animating, both moving the character around, but also editing those movements on the graph.
One of my main concerns in animating was the small details which would make it look believable. The main element I was worried about was secondary movement, so when jumping, I wanted his feet to move and his head to nod slightly, so after making the key animation of the movement of the body, I started to add these small details.
Totoro dance test 1 from sacha frampton on Vimeo.
Maya test two from sacha frampton on Vimeo.
Here you can see my two Maya tests I did that day, in playblast form, showing the development of my animation. From the initial first movements in Totoro's dance scene, to a slightly more developed and longer animated sequence. I am actually really proud of this animation, however I feel that his movements are far too quick, especially the transitions between each part of his dance. But I am excited to see how this animation will look when fully finished with camera movements, lighting and put together with the other animated parts.


No comments:
Post a Comment