As I was very nervous about properly starting to model my characters, I had a play around for longer than needed with the different properties of the deformer tools.
After a while I started to understand which ones I could potentially use to model the different shapes to create the body, head and arms.
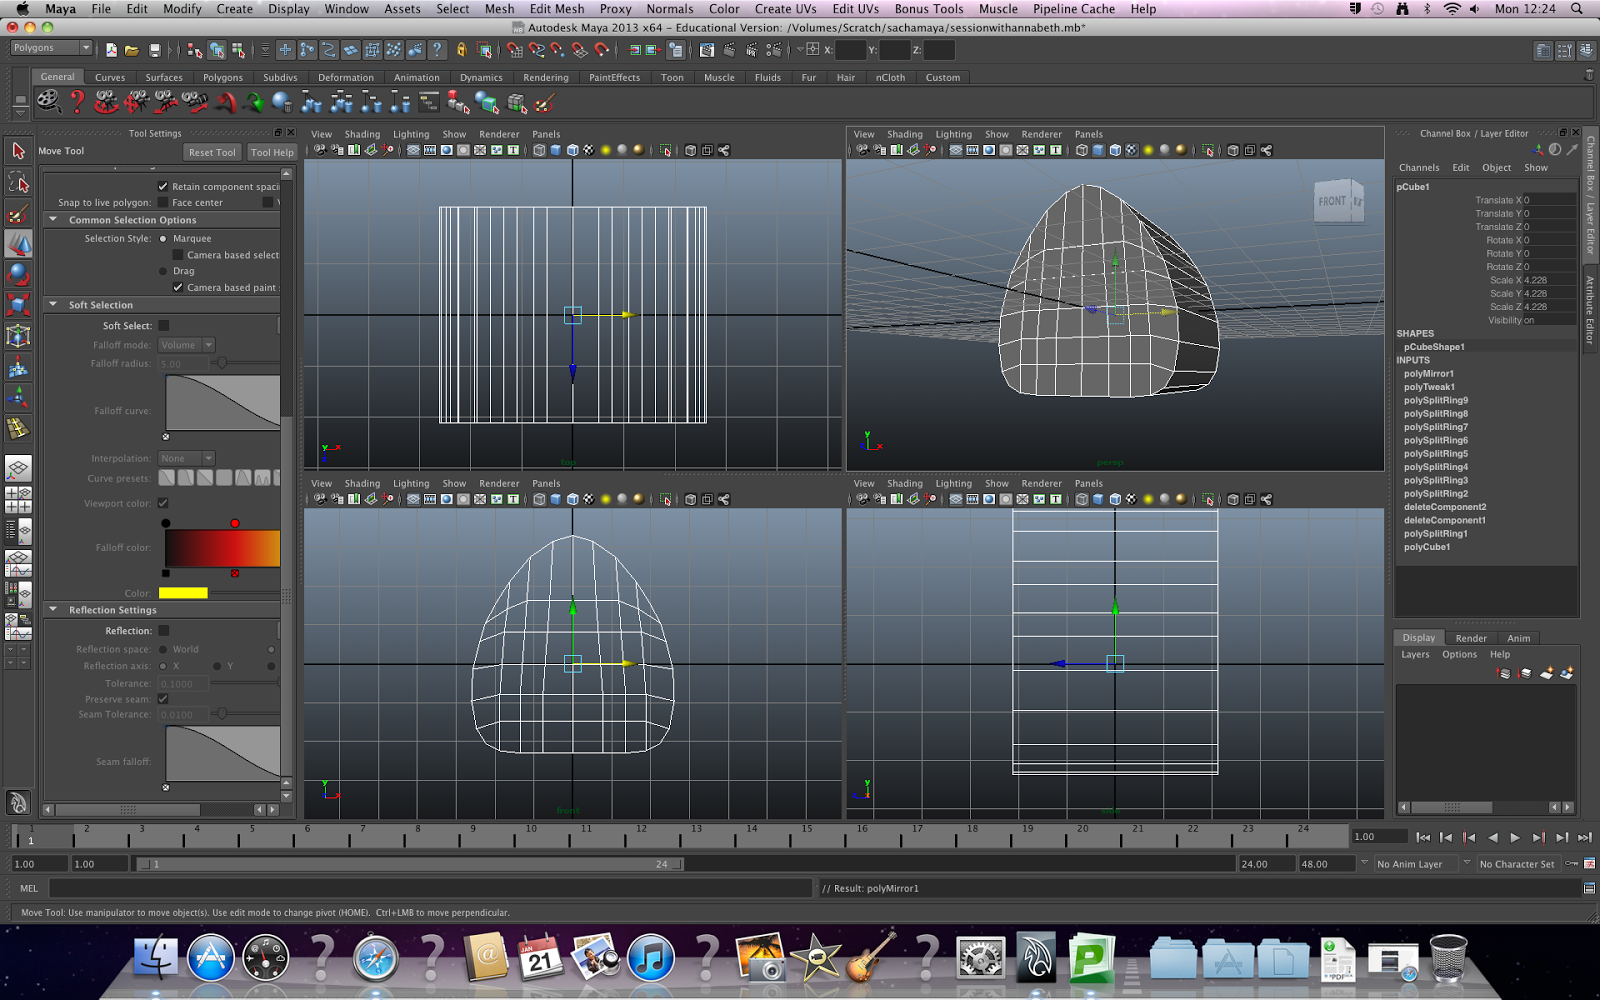
Just as I had started and was struggling with modelling, as the shapes simply weren't turning out as I hoped/expected, Chris and Ben (both 3rd years) came and tried to help me. They showed me a method of shaping a rectangle from the front and then the side, but by only modelling one half of what is needed you can mirror the polygon to create the full shape. As interesting as this technique is, and potentially time saving (if making a complex shape) it was starting to confuse me, and Annabeth discouraged that I used this method until I fully understood and started to feel more comfortable with the other methods of modelling which I had been taught by her and Mat. I felt I would include this in this blog post anyway, as a step in the learning process. Underneath are a few images showing what Chris and Ben were showing me.


After that confusion Annabeth took the time to help me go back to the very basics of shape manipulation, and together we were able to come up with this basic body and head shape for Totoro, even with a little nose! I felt much more comfortable modelling in this way, and I am much happier with this shape as it fits his character and personality better, as well as aesthetically looking more organic. However I feel that I have slightly cheated having so much help from Annabeth to create this, so I will attempt to do my own version using the same method at a later date.

Before trying to remodel the body (as mentioned before), I thought I would try to get this model to a finished standard, and tried to model the other missing parts of Totoro to add. The first was his arms, which I tried to extrude from his body, but realised having separately modelled arms would be far easier to animate, especially as we aren't using rigging in this project. I then made some little fingers, which I parented to the arm, meaning when the arm is moved around that they stay in position on the arm and move too!

The next component I chose to model was his ears which are a strange shape. I used the same oval shape from the arm and fingers, and stretched it to elongate it. For the top of his ears I made a simple cone shape and places it on top, and parented the two together.

Here you can see my elements so far separated.

The last key body part I needed was his signature whiskers. At first I tried to do this by creating a rectangle and extruding it out, but it made it a really weird shape. So Annabeth came and helped me make the Whiskers without the need of using deformers.

Now I have all the elements to create Totoro, I was able to move, resize and duplicate the elements, and place them in the position where they needed to be attached to the body. I then parented these elements to the body, meaning that when the main body is animated and moved around the screen, all of the other body parts will stay attached and not float around in mid air, or deform (if a deformer is placed on them).

After parenting all the elements together I worried that it may not work and elements may fly off, but to my surprise and joy it did work! Underneath are two pictures of me moving Totoro around the screen to show his parenting. You can also tell by the whole of him being green when selected, showing he is one single shape, but still fully animatable.


Here is the finished model (so far anyway, I still need to figure out how I am going to model his legs)

No comments:
Post a Comment